A fresh coat of paint can change your living space’s feel. It makes it feel new and refreshed. The right techniques and colors can make your home look better and even increase its value.
Getting your room ready for painting is key to success. In this guide, we’ll show you how to get professional-looking results when you paint the interior of your house.
Key Takeaways
- Learn how to choose the perfect interior paint colors for your home.
- Understand the importance of preparing your walls before painting.
- Discover the best techniques for applying paint to achieve a smooth finish.
- Get tips on how to maintain your newly painted surfaces.
- Explore the benefits of painting your home’s interior.
Understanding the Importance of Interior Painting
A good interior painting job can change your home’s feel. It makes it more welcoming and personal. It’s not just about new wall colors. It’s about showing off your style and personality.
Enhancing Aesthetic Appeal
Interior painting boosts your home’s look. The right colors and finishes can unite your decor. For example, light colors can make rooms feel bigger and calmer. Bold colors can bring energy and life.
Boosting Property Value
Painting your interior can also increase your home’s value. A fresh paint job can attract buyers if you sell. Experts say a well-kept interior can recover a lot of its cost.
| Aspect | Before Painting | After Painting |
|---|---|---|
| Aesthetic Appeal | Dated, worn-out look | Fresh, modern appearance |
| Property Value | Lower perceived value | Increased value due to updated look |
| Buyer Attraction | Less attractive to buyers | More appealing, potentially faster sale |
Creating a Personal Atmosphere
Painting lets you make your home feel personal. Choose colors that mean something to you. This way, you can make a cozy spot or a lively area. Start with one room to get better at painting.
Understanding interior painting’s value helps you make your home better. Whether you’re experienced or new, painting has many benefits.
Preparing for Your Painting Project
To get a professional paint job, you need to prepare well. This includes choosing the right time, getting the right supplies, and checking your walls. Good preparation can really change how your painting turns out.
Choosing the Right Time
Choosing the best time for painting is key. Weather conditions matter a lot, mainly for outdoor painting. You want to paint on days that are not too hot or too cold, and when it’s not too humid.
For indoor painting, think about the air flow and temperature in your space.
- Avoid painting in extreme temperatures.
- Check the weather forecast if you’re painting exterior surfaces.
- Ensure good ventilation when painting indoors.
Gathering Necessary Supplies
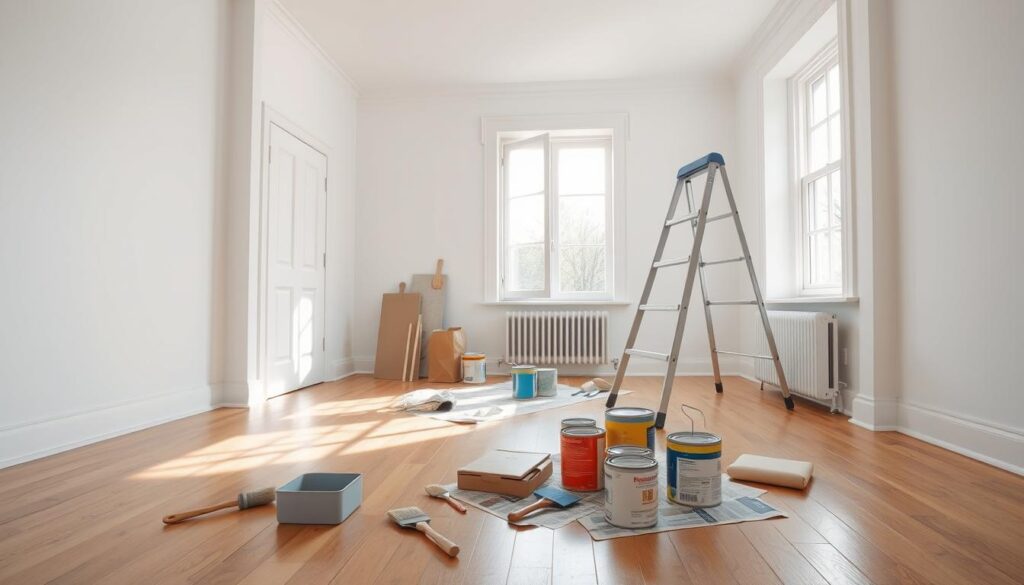
Having all your supplies ready before you start can save you time and stress. You’ll need:
- Paint and primer.
- Brushes and rollers.
- Painter’s tape.
- Drop cloths.
- Sandpaper or a sanding block.
Using the right tools makes painting easier.
Assessing Your Walls
Before you paint, check how your walls are doing. Look for cracks, holes, dents, or other damage. Fixing these problems before painting will help your paint go on smoothly.
Steps to assess and repair your walls:
- Inspect the walls for any damage.
- Fill holes and cracks with spackling compound.
- Sand the surface to create a smooth finish.
Selecting the Perfect Paint Colors
Choosing the right interior paint colors can be tough, but it can also be fun. The colors we pick for our walls greatly affect our home’s feel and look.
Color Psychology Explained
Colors can make us feel different ways. Cool colors like blue and green calm us down. Warm colors like red and orange make us feel more energetic.
Knowing color psychology helps pick the right paint for each room. For example, a bedroom might need soothing colors for relaxation. A home office might need colors that help you focus.
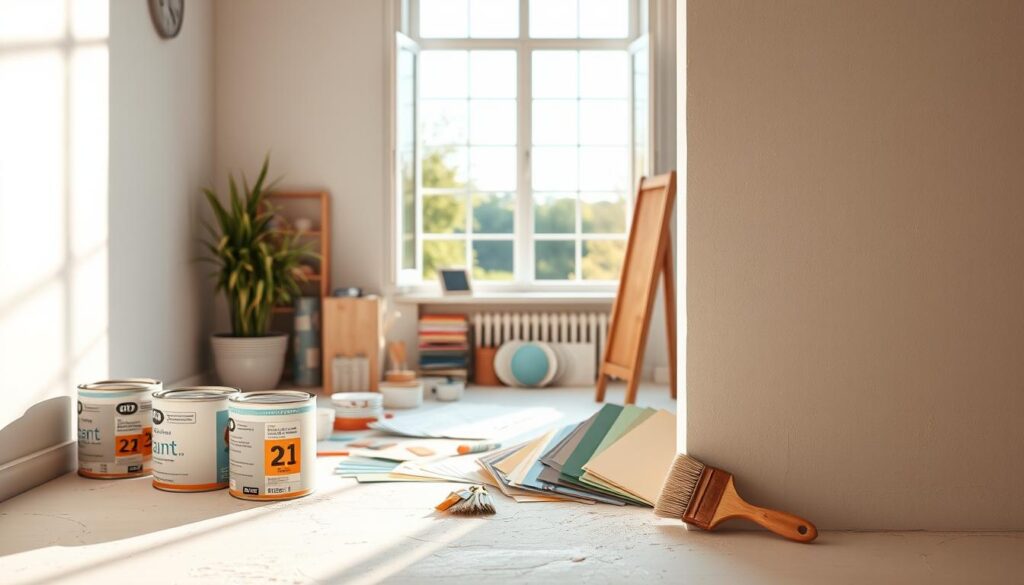
How to Test Paint Samples
It’s key to test paint samples before deciding. Light can change how a color looks. So, check the sample in different lights.
- Paint samples on various walls to see how they look in different lights.
- Check the color at night with artificial light to make sure it looks good.
- Use apps like the Benjamin Moore Color Portfolio to see how colors will look in your space.
Creating a Cohesive Color Scheme
A cohesive color scheme connects different rooms. Think about how colors flow between rooms. This helps them work well together.
Choose a main color and pick complementary colors for nearby rooms. Or, use different shades of the same color for a harmonious look.
By picking the right interior paint colors and techniques, you can make your home look beautiful and unified.
Types of Interior Paint Finishes
The finish of your paint greatly affects a room’s look and feel. The finish, or sheen, impacts durability and beauty. It’s key to choosing the right finish for your interior painting.
Matte vs. Satin vs. Gloss
There are many paint finishes, like matte, satin, and gloss. Matte finishes are flat and hide wall flaws well. Satin finishes have a soft sheen and are durable, great for busy spots. Gloss finishes are shiny and modern, perfect for trim and doors.
When to Use Each Finish
Choosing the right finish depends on the room’s needs. Matte finishes are good for hiding imperfections, ideal for ceilings and quiet areas. Satin finishes work well in living spaces and bedrooms. Gloss finishes are best for trim and doors, as they’re easy to clean and last long.
Impact on Room Lighting
The finish affects how light reflects in a room. Gloss and satin finishes make rooms brighter by reflecting light. Matte finishes absorb light, making rooms cozier but darker.
| Finish Type | Sheen Level | Durability | Ideal Use |
|---|---|---|---|
| Matte | Low | Low | Ceilings, low-traffic areas |
| Satin | Medium | Medium | Living rooms, bedrooms, hallways |
| Gloss | High | High | Trim, doors, windowsills |
Knowing about interior paint finishes helps us choose the right one. This ensures our homes look and function as we want.
Tools We Need for a Successful Paint Job
A successful paint job starts with the right equipment. We’re here to guide you through the essentials. The correct tools make the process smoother and ensure a professional finish.
Essential Brushes and Rollers
Brushes and rollers are key for any painting project. The right type and quality greatly impact the outcome. For edges, use high-quality angled brushes.
For larger areas, rollers with extension poles are efficient. When choosing rollers, consider the nap length. A short nap (1/4 inch) is best for smooth surfaces. A longer nap (1/2 inch or more) works better for textured surfaces.
The Importance of Painter’s Tape
Painters’ tape is crucial for clean, sharp edges. It protects trim, ceilings, and other areas you don’t want to paint. Choose tape designed for painting to avoid residue.
Safety Gear We Shouldn’t Skip
Safety is key when painting. Rubber gloves protect your hands from paint and chemicals. Safety goggles shield your eyes from splatters. Don’t forget a mask or respirator to avoid inhaling fumes or particles.
| Tool | Purpose | Tips |
|---|---|---|
| Angled Brushes | Cutting in and painting edges | Choose high-quality for smooth lines |
| Rollers | Painting large areas | Select nap length based on surface texture |
| Painters’ Tape | Protecting trim and edges | Remove carefully to avoid residue |
| Rubber Gloves | Protecting hands from paint and chemicals | Wear during preparation and painting |
| Safety Goggles | Protecting eyes from splatters | Wear during painting and sanding |
Preparing Your Space for Painting
Getting your space ready for painting is key for a perfect finish. It makes the painting process smoother and keeps our stuff safe from spills.
Moving Furniture Safely
First, we move furniture away from walls and cover it with drop cloths or plastic sheets. This protects our furniture and gives us room to work. For big furniture, using furniture sliders helps avoid floor damage.
Tip: Take out any rugs or mats that could get in the way or get damaged.
Protecting Floors and Fixtures
It’s important to protect our floors and fixtures. We cover floors with drop cloths or plastic sheeting and remove or cover fixtures like light switch plates and outlet covers. For extra protection, we use painter’s tape around trim and moldings.
“Remove all furniture and fixtures, including lights, blinds, HVAC registers, and outlet covers,” is a common recommendation from painting professionals.
Cleaning Walls before Painting
Cleaning walls before painting is crucial for a smooth finish. We dust off cobwebs, dirt, or grease with a mild detergent and water. For hard stains, a trisodium phosphate (TSP) solution works well.
| Cleaning Task | Recommended Method |
|---|---|
| Dusting Walls | Use a soft-bristled brush or a vacuum cleaner with a gentle suction setting. |
| Removing Grease or Grime | Apply a mild detergent solution with a soft cloth, then rinse with clean water. |
| Tough Stains | Use a trisodium phosphate (TSP) solution, following the manufacturer’s instructions. |
By following these steps, we can make sure our space is ready for painting. This leads to a professional-looking finish.

Mastering the Painting Technique
To get a perfect paint job, knowing the techniques used by professional interior painters is key. Learning these techniques can greatly improve your project’s look.
Cutting In for Clean Edges
Cutting in is a precise step that needs patience. It’s about painting edges, corners, and areas a roller can’t reach. Use a top-notch paintbrush to paint 2-3 inches along edges, windows, and corners.
Rolling Techniques for Even Coverage
After cutting in, it’s time to roll on the paint. Begin by loading your roller with the right paint amount. Too little paint causes streaks, while too much leads to drips. Use a ‘W’ or ‘M’ pattern to spread the paint evenly in sections.
Avoiding Common Mistakes
Even skilled painters can slip up. Mistakes include not prepping the surface, picking the wrong paint, and not waiting long enough for paint to dry. To steer clear of these, plan well and stick to the paint maker’s advice.
| Technique | Description | Tip |
|---|---|---|
| Cutting In | Painting edges and corners with a brush | Use a high-quality brush for smooth lines |
| Rolling | Applying paint to large areas with a roller | Work in sections for even coverage |
| Drying Time | Allowing paint to dry between coats | Follow manufacturer’s instructions for drying times |
Using Primer: Do We Need It?
Primer is key for a professional finish, but do we always need it? Knowing about the cost to paint the inside of our homes helps us decide on our painting project.
Benefits of Priming Before Painting
Priming before painting has many advantages. It makes the base coat uniform, ensuring a smooth finish. It’s great for covering dark colors or bold patterns, hiding them well.
Primer also covers stains or imperfections, giving us a clean surface to paint on.
Primer makes our paint job last longer, as it helps the paint stick better. This is crucial in busy areas or rooms with moisture, like kitchens and bathrooms.
“Primer is essential if you are changing from a dark paint color to a lighter one.”
When to Skip the Primer
Primer is not always needed. If we’re painting over a similar color or the surface is already good, we might skip it. But, we should check the surface first.
If the walls are in great shape and the new color is close to the old one, primer might not be worth it. But, if we’re unsure, it’s safer to use primer for a top-quality finish.
Choosing the Right Primer
Choosing the right primer depends on the surface and finish we want. For example, a mold-resistant primer is best for surfaces with stains or mold.
For most interior painting, a latex-based primer is a good pick because it’s versatile, dries fast, and is easy to clean up. But, for metal or wood, we might need a special primer.
Understanding primer’s benefits and uses helps us make smart choices for our interior painting. This way, we get a professional-looking finish that lasts.
Drying Times and Curing for a Perfect Finish
To get a professional paint finish, knowing about drying times and curing is key. Drying time is when the paint feels dry to the touch. Curing makes the paint fully hard and durable. Knowing these and what affects them can greatly improve your painting results.
Factors Affecting Drying Time
Many things can change how fast paint dries. The paint type, room temperature, humidity, and how thick you apply it all matter. For example, latex paint dries quicker than oil-based paint. Warmer temperatures and lower humidity speed up drying, but too high can cause uneven finishes.
Type of Paint: Latex paint dries faster than oil-based paint. Choosing the right type of paint for your project can help manage drying times.

Understanding Curing vs. Drying
Drying means the paint feels dry to the touch. Curing is when it becomes fully hard and durable. Curing takes longer than drying and is also affected by environment and paint type. It’s important to wait long enough for the paint to cure before it gets worn or cleaned.
- Curing time can range from a few days to several weeks.
- Environmental conditions such as temperature and humidity play a significant role.
How to Ensure Proper Ventilation
Good air flow is vital during painting and drying. It helps remove paint moisture and fumes. This prevents uneven drying and keeps the air clean. Open windows and use fans to move air around. This is very important with oil-based paints or in small spaces.
By understanding and managing drying and curing, you can get a better paint finish. Proper planning and attention to air conditions are crucial for a great painting job.
Maintaining Our Newly Painted Interior
Keeping our newly painted interior in top shape is key. It keeps our home looking great and adds value. A well-kept interior is a big plus for our home’s worth.
Cleaning Tips for Painted Walls
Cleaning painted walls needs to be done carefully. Start by dusting gently with a soft cloth or duster. For deeper cleaning, a damp cloth works, but harsh chemicals can harm the paint.
- Use a mild soap solution for tougher stains.
- Avoid using too much water, which can lead to water spots or damage the paint.
- For stubborn stains, consider using a cleaning product designed for painted surfaces.
Touch-Up Techniques
Touching up small areas is part of maintaining our paint. Keep leftover paint for future touch-ups. Use a small brush to match the original paint job.
- Clean the area around the scratch or mark before applying touch-up paint.
- Apply the paint carefully, feathering it out towards the edges so it blends with the surrounding area.
- Allow the touch-up paint to dry completely before assessing if a second coat is needed.
When to Repaint
Knowing when to repaint is crucial. Look for fading, chipping, or cracking. Changes in style or preferences also mean it’s time for a new coat.
Regular care can make our paint last longer. But, repainting is sometimes necessary to keep our home looking its best.
Eco-Friendly Painting Options
Nowadays, choosing eco-friendly painting options is more important than ever. Homeowners can make a positive impact on the environment by picking the right paints.
Choosing Low-VOC Paints
Choosing low-VOC (Volatile Organic Compound) paints is key to eco-friendly painting. VOCs are chemicals that evaporate and release harmful fumes. Low-VOC paints help reduce indoor air pollution.
For more info on eco-friendly paints, check out This Old House’s guide on eco-friendly paints.
Understanding Sustainable Practices
Eco-friendly painting goes beyond just paint. It includes sustainable practices like using eco-friendly supplies and minimizing waste. Proper disposal of leftover paint and materials is also important.
Benefits of Eco-Friendly Supplies
Using eco-friendly supplies in painting projects has many benefits. They reduce our environmental impact and improve indoor air quality. This choice helps our families stay healthy.
By choosing eco-friendly options, we invest in a sustainable future. Incorporating these choices into our home projects is a big step towards sustainable living. We can create beautiful, healthy spaces that are kind to the environment.
Hiring Professionals vs. DIY Painting
Choosing between hiring pros or doing it yourself for home painting is big. Each option has its good and bad sides. It really depends on your budget, how complex the job is, and what you like best.
Cost Considerations
Thinking about the cost is key when deciding. Hiring pros might cost more at first, but they often do a better job. They save you time and effort too. On the flip side, doing it yourself can save money, but you’ll have to put in the work yourself.
Expertise and Safety
If you’re not sure about a DIY project, getting a pro might be safer. They have the skills and tools for tough jobs. This ensures a good finish.
DIY Benefits
But, DIY painting can be fun and rewarding. It lets you make your space your own and learn new things. With the right tips, you can get pro-like results and feel proud of your work.


